 WARNING:
Before beginning any service procedure in this section, refer to Safety Warnings in section 100-00 General Information. Failure
to follow this instruction may result in serious personal injury.
WARNING:
Before beginning any service procedure in this section, refer to Safety Warnings in section 100-00 General Information. Failure
to follow this instruction may result in serious personal injury.
| 419-10 Multifunction Electronic Modules | 2013 - 2014 Fusion |
| Removal and Installation | Procedure revision date: 05/9/2013 |
Removal
NOTE: Removal steps in this procedure may contain installation details.
WARNING:
Before beginning any service procedure in this section, refer to Safety Warnings in section 100-00 General Information. Failure
to follow this instruction may result in serious personal injury.
NOTE: If installing a new module, it is necessary to upload the module configuration information to the diagnostic scan tool prior to removing the module. This information must be downloaded into the new module after installation.
Upload the module configuration information from the DSM into the diagnostic scan tool by following the diagnostic scan tool on screen instructions.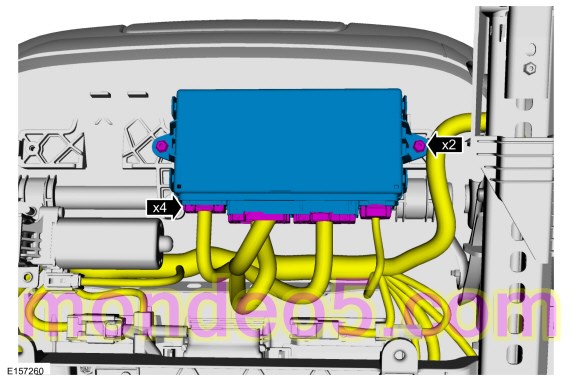

Installation
NOTE: If installing a new DSM, operate the seat track in all directions through the full range of travel in the following sequence to set the soft stops.
Copyright © Ford Motor Company